When I teach how to edit photos with gimp, one of the biggest things I push for is the use of layer modes and layer masks whenever possible. How I create black and white photos is no exception to that rule.
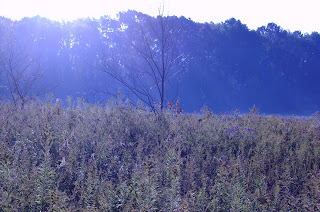
Before
After
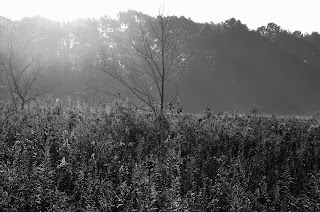
When I edit photos like what you see above, I always do it like this:
create a new layer, fill that layer with black.
set the layer mode to "color"
go to the background layer
click colors>>>curves
adjust the curves of the red, green, and blue channels on the drop down menu
Editing a black and white photo this way will give you some unique results and can highlight parts of a black and white photo that would have been otherwise impossible to highlight. This method of editing photos works well, but it works A LOT better if you're editing a photo in RAW format. If you don't know anything about shooting in raw check out this blog post: The Benefits of Shooting in Raw.
Before
After
When I edit photos like what you see above, I always do it like this:
create a new layer, fill that layer with black.
set the layer mode to "color"
go to the background layer
click colors>>>curves
adjust the curves of the red, green, and blue channels on the drop down menu
Editing a black and white photo this way will give you some unique results and can highlight parts of a black and white photo that would have been otherwise impossible to highlight. This method of editing photos works well, but it works A LOT better if you're editing a photo in RAW format. If you don't know anything about shooting in raw check out this blog post: The Benefits of Shooting in Raw.
No comments:
Post a Comment